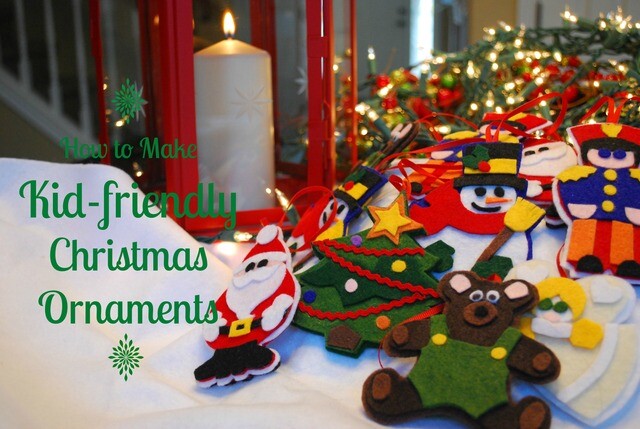
Last year my toddler’s chubby hands reached out to hang his first ornament ever. I stood on the sidelines with a camera, ready to shoot what was sure to be a memorable picture of him and his dad at the Christmas tree.
Then the ornament fell to the ground and shattered.
It wasn’t the only Christmas casualty of toddlerhood that Christmas. Each time I heard that shattering sound, I ran to get the vacuum and obsessively searched for shards.
The ornaments were cheap, so I didn’t care about them, but I did care about my beautiful baby boy. I realized I needed something soft and unbreakable if I hoped for any peace at Christmas. I remembered the colorful felt ornaments that adorned my tree growing up (made by my mom, I soon found out, after she watched her baby boy grab a glass ball off her tree with his chubby hands, look at it, then take a big bite out of it). My mom had gotten the pattern out of some magazine back in the 70s—she can’t remember which (please share in the comments if you know)—and the ornaments have lasted through the years. She still has them and uses them.
They’re perfect for families because they’re (1) inexpensive, (2) virtually indestructible, and (3) cute and colorful on a tree.
The pattern is long gone, so last year on a visit home, we traced out the pattern from the ornaments. The ornaments are a decent time investment; cutting the pieces takes a while, but afterward you just use some craft glue to place them together. And voila—you have a tree full of vibrant ornaments safe for kid consumption!
Templates:
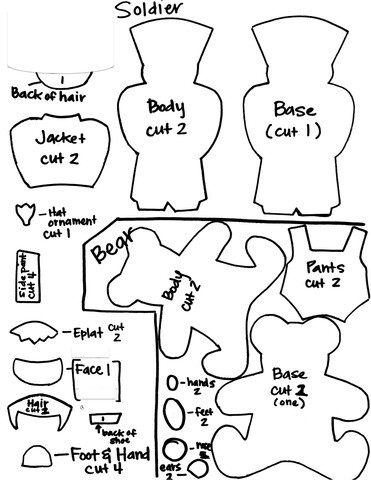
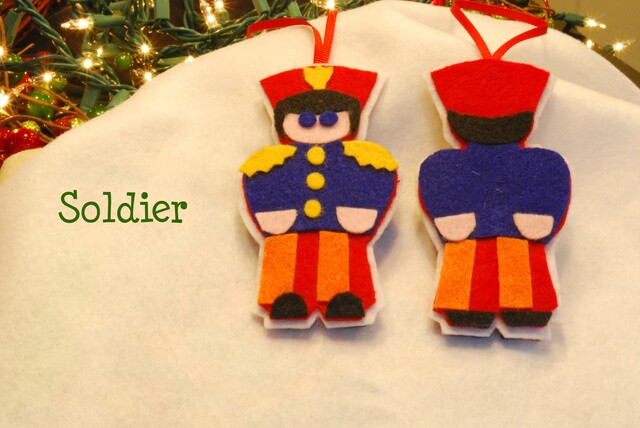
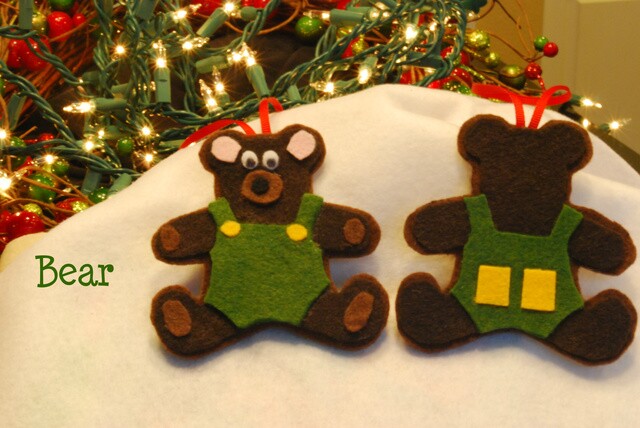
Get the PDF template for the Soldier and Bear.
Soldier base: white; Soldier body: red
Bear base: light brown; Bear body: dark brown

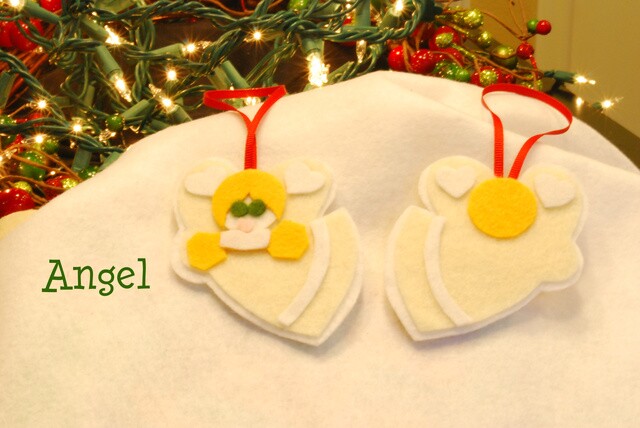
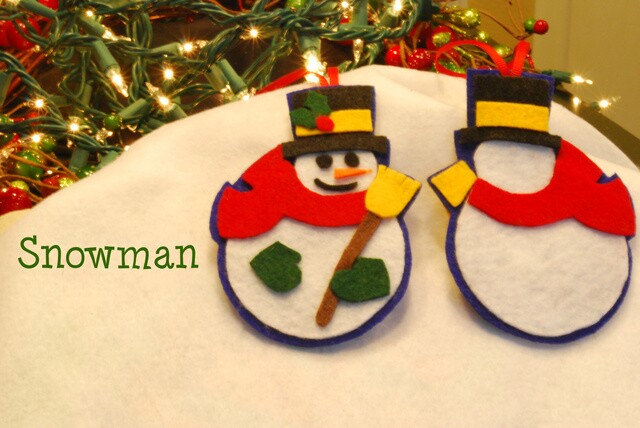
Get the PDF template for the Angel and Snowman.
Angel base: white; Angel body: cream
Snowman base: navy blue; Snowman body: white

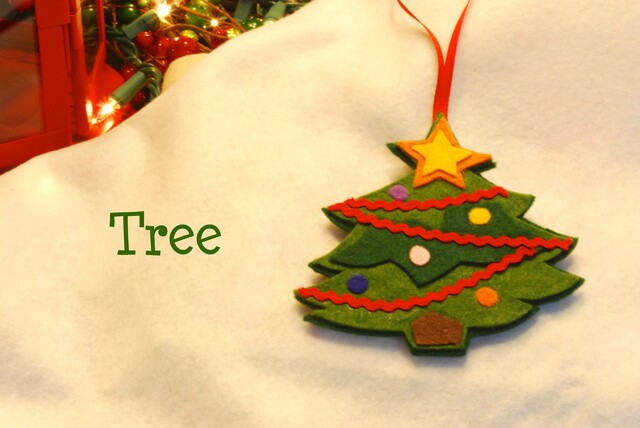
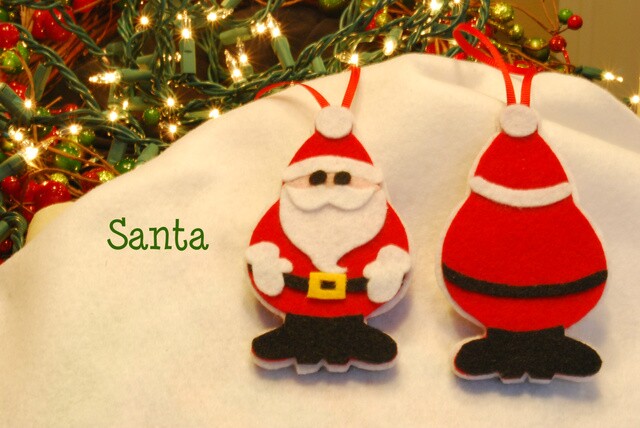
Get the PDF template for the Tree and Santa.
Tree base: dark green; Tree body: light green
Santa base: white; Santa body: red
A few notes on the ornaments:
1) I made 8 of each ornament. For that many ornaments, you’ll need ½ yard of red and white felt. For every other color (green, light green, yellow, orange, brown, light brown, black, pink, cream, navy blue) you’ll only need 1/3 yard. You’ll also need small brightly colored rick rack for the tree garland.
2) For all the small circles (eyes, holly berry on the snowman, ornaments on the tree, etc.), use a sharp single hole punch. Use a black marker to draw pupils on the bear’s eyes.
3) For the nose and back of the broom on the snowman and the back pockets on the bear: these items are easy to eye, so there isn’t a template for them. Just trace and cut them as you see fit.
4) For items you are tracing for front and back, make sure to flip the template when tracing, just to save time in case you don’t cut all the pen tracing off.
5) As you are gluing pieces together, some trimming may be needed to get an exact fit.
And if you're looking for an easy, inexpensive garland to match, check out this tutorial for twisted felt garland. It's beautiful and, if you have a rotary blade, takes about 20 minutes for several yards.
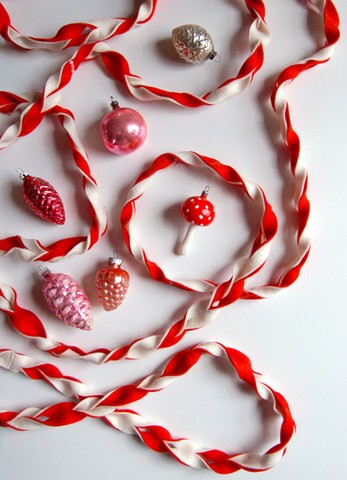
Photo from Purl Bee.
Merry Christmas!
